Irish Cheddar & Bacon Dip
Highlighted under: Classic Comfort Dishes
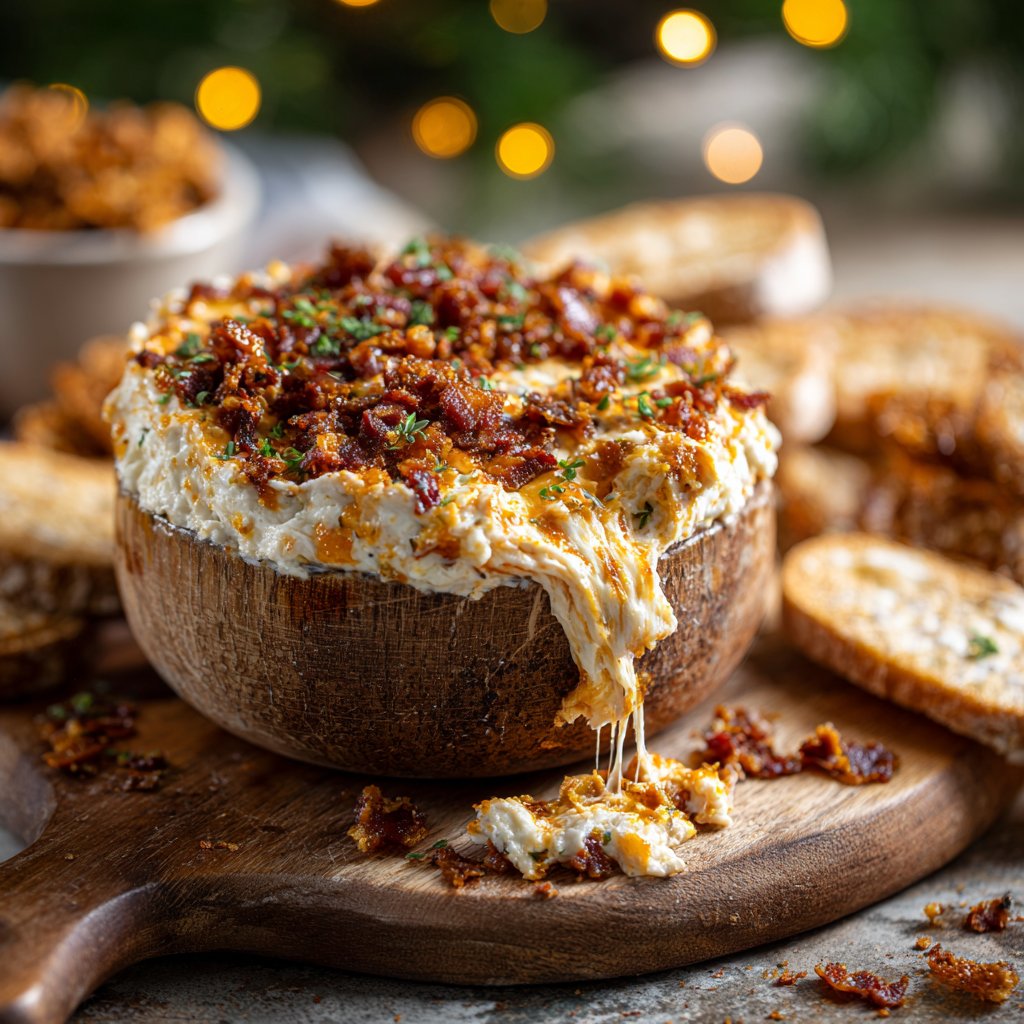
I love making this Irish Cheddar & Bacon Dip for gatherings because it’s rich, creamy, and bursting with flavor. The combination of sharp Irish cheddar and crispy bacon creates a mouthwatering dip that everyone enjoys. I usually serve it with toasted bread or fresh vegetables, and watching friends devour it is such a delight. The best part is how easy it is to whip up in under 30 minutes, making it a perfect last-minute addition to any party spread.
When I first made this Irish Cheddar & Bacon Dip, I was blown away by how simple ingredients transformed into such a crowd-pleaser. The rich flavor of the cheddar perfectly complements the smoky, crispy bacon, creating a dip that's irresistible. I like to sneak in some cream cheese for added creaminess, and it makes a tremendous difference!
One critical tip I discovered is to cook the bacon until it's extra crispy, as it adds a satisfying crunch to each bite. Pairing this dip with some homemade crostini is a game-changer, elevating the whole experience for everyone at the table.
Why You'll Love This Recipe
- Savory blend of sharp Irish cheddar and crispy bacon
- Creamy texture that's perfect for dipping
- Quick and easy to prepare for any occasion
The Role of Cheese
Irish cheddar cheese is the star of this dip, bringing a robust flavor profile that pairs perfectly with bacon. The sharpness of the cheese creates a contrast with the creaminess of cream cheese and sour cream, making each bite rich and satisfying. I recommend using an aged cheddar for deeper flavor, but if that's not available, a standard sharp cheddar will work well too. The cheese’s ability to melt uniformly is crucial; shredding it yourself versus using pre-shredded saves you from additives that can affect melting quality.
When mixing the cheeses, ensure they are at room temperature to achieve a silky texture. This will help all the ingredients blend seamlessly, preventing any graininess. Using a hand mixer for the initial blending can make the process quicker and more efficient, ensuring that everything is well-combined without overmixing, which could lead to a tough dip.
Perfect Baking Techniques
Baking this dip is essential for achieving that golden, bubbly finish that elevates the flavor and texture. Make sure your oven is fully preheated to 350°F (175°C) to ensure even baking. The dip should be in the oven for about 20 minutes; however, keep an eye on it! You’ll know it’s ready when the edges start to bubble and the top takes on a light golden hue. If you prefer a slightly crispier top, feel free to broil it for the last 2-3 minutes, but watch it closely to prevent burning.
While baking, the ingredients meld together, and the cheese develops a lovely texture. If any parts look undercooked after the recommended time, return it to the oven for an additional 5 minutes, monitoring closely. Cooking times may vary slightly based on the dish used, so a glass or ceramic oven-safe dish can offer a combination of even heat and easy visual cues.
Ingredients
Ingredients
Main Ingredients
- 1 cup sharp Irish cheddar cheese, shredded
- 1/2 cup cream cheese, softened
- 1/2 cup sour cream
- 1/2 cup cooked bacon, crumbled
- 1 tablespoon green onions, chopped
- 1 teaspoon garlic powder
- Salt and pepper to taste
Serve with toasted bread or vegetable sticks.

Instructions
Instructions
Prepare the Base
In a mixing bowl, combine the shredded Irish cheddar, softened cream cheese, and sour cream. Mix well until smooth and creamy.
Add Flavorings
Stir in the crumbled bacon, chopped green onions, and garlic powder. Season with salt and pepper to taste.
Bake
Transfer the mixture to an oven-safe dish and bake in a preheated oven at 350°F (175°C) for 20 minutes, or until bubbly and golden on top.
Serve
Remove from the oven and let it cool for a few minutes before serving with toasted bread or veggies.
Enjoy this delightful dip with loved ones!
Pro Tips
- For an extra touch, try adding some hot sauce for a spicy kick or experiment with different cheeses for unique flavor profiles.
Storage and Make-Ahead Tips
This dip is fantastic for make-ahead hosting! You can prepare the mix one day before and store it covered in the refrigerator. When you’re ready to serve, just pop it in the oven, and it will be as good as fresh. Allow about 25-30 minutes for reheating if starting from cold, checking for that bubbly finish. This method not only saves time but also lets the flavors enhance as they sit together in the fridge for a few hours or overnight.
If you have leftovers, store them in an airtight container in the refrigerator for up to three days. Reheat the dip gently in the oven at 350°F (175°C) until warmed through—this maintains the creamy texture better than microwaving, which can sometimes dry it out.
Variations and Serving Suggestions
While this dip is a crowd-pleaser as is, consider mixing things up with additional ingredients to suit different tastes. Adding diced jalapeños or a splash of hot sauce can introduce a spicy kick, while sautéed mushrooms could lend an umami twist. Similarly, for a vegetarian option, you can omit the bacon altogether or substitute it with a mushroom bacon variant for a savory depth.
For serving, pair this dip with toasted baguette slices, crispy tortilla chips, or an assortment of fresh vegetables like celery sticks, cucumber slices, and bell pepper strips. Each option offers a unique crunch that complements the creamy dip beautifully. I love to add a sprinkle of extra green onions on top for a pop of color and freshness—plus, it looks inviting on the table!
Questions About Recipes
→ Can I make this dip ahead of time?
Yes, you can prepare the dip, store it in the fridge, and bake it just before serving.
→ What can I substitute for sour cream?
Greek yogurt works well as a substitute for sour cream, adding a similar creaminess.
→ How do I store leftovers?
Store any leftovers in an airtight container in the refrigerator for up to three days.
→ Can I freeze this dip?
While it’s not recommended, you can freeze it before baking. Thaw and bake from frozen, allowing extra time.
Irish Cheddar & Bacon Dip
Created by: The Seasonedscoop Team
Recipe Type: Classic Comfort Dishes
Skill Level: Easy
Final Quantity: 6 servings
What You'll Need
Main Ingredients
- 1 cup sharp Irish cheddar cheese, shredded
- 1/2 cup cream cheese, softened
- 1/2 cup sour cream
- 1/2 cup cooked bacon, crumbled
- 1 tablespoon green onions, chopped
- 1 teaspoon garlic powder
- Salt and pepper to taste
How-To Steps
In a mixing bowl, combine the shredded Irish cheddar, softened cream cheese, and sour cream. Mix well until smooth and creamy.
Stir in the crumbled bacon, chopped green onions, and garlic powder. Season with salt and pepper to taste.
Transfer the mixture to an oven-safe dish and bake in a preheated oven at 350°F (175°C) for 20 minutes, or until bubbly and golden on top.
Remove from the oven and let it cool for a few minutes before serving with toasted bread or veggies.
Extra Tips
- For an extra touch, try adding some hot sauce for a spicy kick or experiment with different cheeses for unique flavor profiles.
Nutritional Breakdown (Per Serving)
- Calories: 380 kcal
- Total Fat: 26g
- Saturated Fat: 15g
- Cholesterol: 195mg
- Sodium: 85mg
- Total Carbohydrates: 32g
- Dietary Fiber: 3g
- Sugars: 24g
- Protein: 6g