Chocolate and Nutty Taco Treats
Highlighted under: Delicious Desserts Made Simple
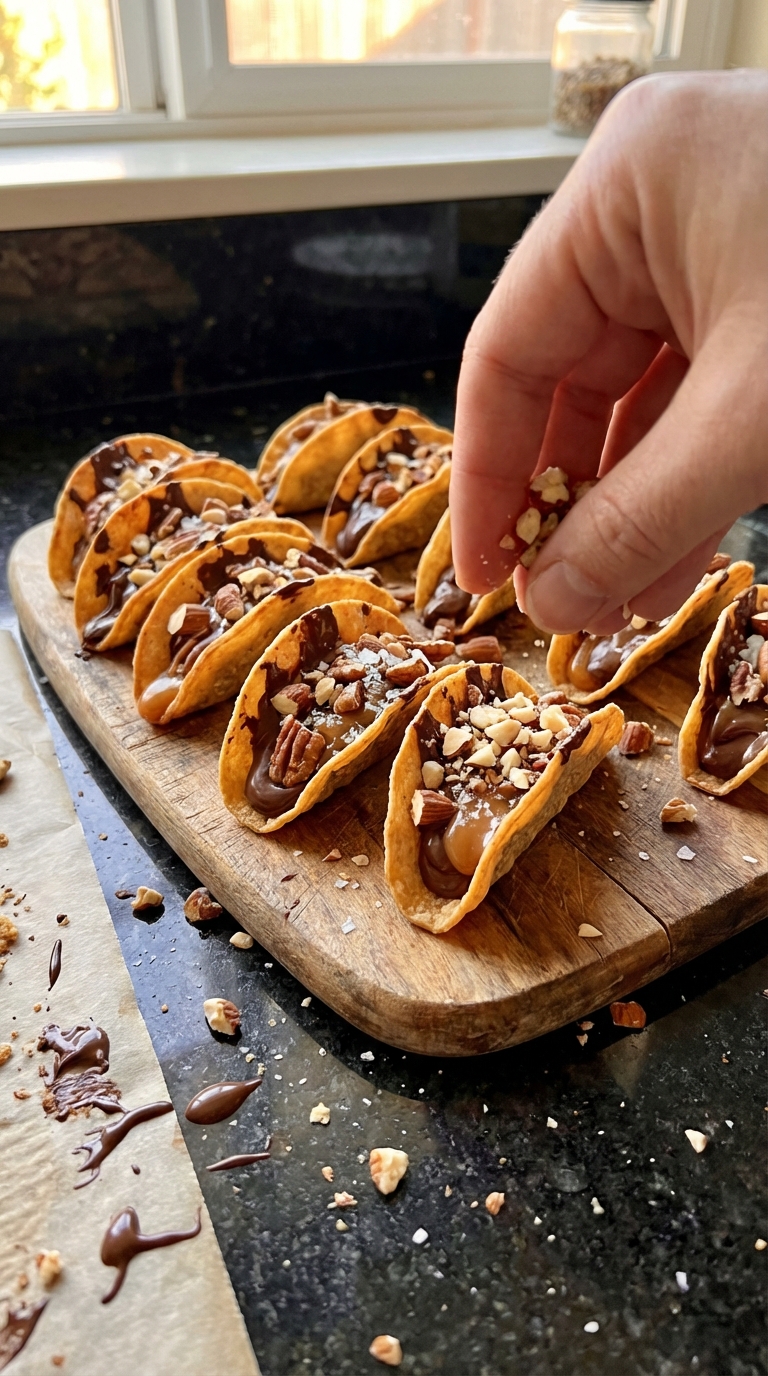
I absolutely love creating desserts that surprise and delight, and these Chocolate and Nutty Taco Treats do just that! The combination of rich chocolate with the crunch of nuts all wrapped in a taco shell is a playful twist on traditional flavors. Each bite offers both sweetness and texture that is hard to resist. It’s a fun treat we enjoy making for gatherings or just as a special indulgence at home. Let me share how these tasty tacos come together in a way that ensures maximum flavor and fun!
When I first thought of merging tacos with dessert, I was a little hesitant, but the resulting Chocolate and Nutty Taco Treats quickly became a family favorite. The richness of melted chocolate paired with the crunch of roasted nuts is utterly irresistible. I made these treats for a birthday party, and they were a hit among kids and adults alike!
One of my best tips is to slightly warm the taco shells before filling them. This not only makes them easier to handle but also enhances the chocolate's melty texture. Just a few seconds in the oven, and you’ll have taco shells that add an extra layer of excitement to this sweet treat!
Why You'll Love These Treats
- Unexpected dessert twist that impresses every time
- Crunchy and chewy texture in every delightful bite
- Perfect for sharing at parties or for a cozy night in
Taco Shell Transformation
The taco shells in this recipe are a delightful transformation of regular flour tortillas. To achieve a perfectly crispy shell, it’s crucial to use just the right amount of vegetable oil. Too little may result in a chewy texture, while too much can lead to greasiness. When shaping the tortillas over the oven rack, ensure they drape evenly, allowing for uniform baking. Bake them until they have a hint of golden edges, which typically takes about 10 minutes at 350°F (175°C).
Monitor your taco shells closely as they bake; remove them from the oven once they are firm to the touch but not overly browned. This balance is key. If you find your shells aren't crisping as expected, try flipping them halfway through the baking time for even heat distribution. Allow them to cool fully on the rack; this step helps them maintain their shape and prevents sogginess when filled.
Mastering the Chocolate Filling
The chocolate filling is the star of this dessert, bringing richness and depth to each taco. Using dark chocolate chips not only adds a luxurious taste but also a robust flavor that contrasts beautifully with the sweetness of the peanut butter. When melting the chocolate, keep the microwave at a low power setting and stir often to prevent scorching. The goal is to achieve a smooth, glossy mixture—a visual cue that indicates it’s ready for filling.
For a bit of variety, feel free to swap the dark chocolate for milk chocolate or even white chocolate, depending on your preference. However, note that variations in sweetness may affect the overall flavor profile of the dessert. If you prefer a nut-free option, almond butter can replace peanut butter, offering a different texture and taste pairing that works just as well. Just ensure whatever nut or seed butter you choose has a similar consistency for optimal results.
Serving and Storing Tips
When it comes to serving, I love to offer a variety of toppings to elevate the Chocolate and Nutty Taco Treats. In addition to a dollop of whipped cream, consider adding chocolate drizzle or a sprinkle of sea salt for an extra punch. Fresh berries not only enhance presentation but also provide a refreshing burst of flavor that balances the richness of the chocolate and nuts. You can prepare the tacos ahead of time, filling them just before gathering to prevent sogginess, keeping the crispy texture intact.
If you have any leftovers, store the filled tacos in an airtight container in the refrigerator for up to two days. However, keep in mind that the shells may lose their crispness over time. For reheating, pop them into a preheated oven for a few minutes to regain some of that original texture before serving. These treats also freeze well; after filling, place them on a baking sheet to harden, then transfer to a freezer-safe container for up to a month, ensuring a quick dessert is always on hand!
Ingredients
Ingredients
For the Taco Shells
- 12 small flour tortillas
- 1/4 cup vegetable oil
For the Filling
- 1 cup dark chocolate chips
- 1/2 cup mixed nuts, chopped
- 1/4 cup peanut butter
For Topping
- Whipped cream
- Fresh berries (optional)
- Chopped nuts
Enjoy your delicious Chocolate and Nutty Taco Treats!
Instructions
Instructions
Prepare Taco Shells
Preheat your oven to 350°F (175°C). Brush both sides of the flour tortillas with vegetable oil and shape them into taco shells by draping them over the rungs of an oven rack. Bake for 10 minutes or until slightly crispy.
Melt Chocolate Filling
In a microwave-safe bowl, combine the dark chocolate chips and peanut butter. Microwave in 20-second intervals, stirring in between, until melted and smooth.
Fill Taco Shells
Once the taco shells have cooled down, drizzle the chocolate mixture into them and sprinkle the chopped nuts over the top. Allow them to set until the chocolate hardens slightly.
Serve
Top the filled tacos with whipped cream and fresh berries if desired. Serve immediately and enjoy!
These treats are best enjoyed fresh, but you can keep them in an airtight container for a day or two.
Pro Tips
- Feel free to customize the nuts based on your preference or add a sprinkle of sea salt for an enhanced flavor contrast!
Ingredient Insights
Choosing the right nuts can greatly influence the flavor of your Chocolate and Nutty Taco Treats. While mixed nuts provide a delightful variety, opting for specific nuts like pecans or walnuts can impart unique flavor profiles and textures. Toasting the nuts lightly before chopping them can enhance their aroma and add a wonderful crunch. If allergies are a concern, consider using seeds such as sunflower or pumpkin seeds as a nut-free alternative, which still contribute a satisfying crunch.
The choice of tortillas also plays a significant role in the final product. I recommend using fresh, soft flour tortillas, as they are more pliable and forgiving than corn tortillas. If you're looking for a gluten-free option, be sure to select gluten-free tortillas, which are often available in stores and can serve as a perfect substitute without sacrificing flavor.
Creative Variations
Feel free to customize the filling of your tacos! For a fruity twist, mix in some dried fruits like cherries or cranberries with the nuts. This not only adds a pleasant sweetness but also brings a chewy texture that complements the crunchiness of the nuts. If you're adventurous, consider sprinkling spices like cinnamon or chili powder into the chocolate mixture to create a warm, spicy flavor that pairs well with the richness of the chocolate.
You can also experiment with different toppings beyond whipped cream and nuts. Shredded coconut or crushed graham crackers can be delicious additions that introduce new flavors and textures. Additionally, hosting a make-your-own taco bar could be a fun way to let guests personalize their treats with various toppings and fillings, making the dessert experience even more enjoyable.
Questions About Recipes
→ Can I use different types of chocolate?
Absolutely! Milk chocolate or even white chocolate can be used, depending on your taste preference.
→ What can I substitute for flour tortillas?
Corn tortillas can be used, but they may alter the texture and flavor slightly.
→ How can I make these ahead of time?
You can prepare the taco shells and the filling in advance, storing them separately and assembling just before serving.
→ Can I make these vegan?
Yes! Use dark chocolate that is dairy-free and substitute the peanut butter with a nut or seed butter of your choice.
Chocolate and Nutty Taco Treats
Created by: The Seasonedscoop Team
Recipe Type: Delicious Desserts Made Simple
Skill Level: Intermediate
Final Quantity: 12 taco treats
What You'll Need
For the Taco Shells
- 12 small flour tortillas
- 1/4 cup vegetable oil
For the Filling
- 1 cup dark chocolate chips
- 1/2 cup mixed nuts, chopped
- 1/4 cup peanut butter
For Topping
- Whipped cream
- Fresh berries (optional)
- Chopped nuts
How-To Steps
Preheat your oven to 350°F (175°C). Brush both sides of the flour tortillas with vegetable oil and shape them into taco shells by draping them over the rungs of an oven rack. Bake for 10 minutes or until slightly crispy.
In a microwave-safe bowl, combine the dark chocolate chips and peanut butter. Microwave in 20-second intervals, stirring in between, until melted and smooth.
Once the taco shells have cooled down, drizzle the chocolate mixture into them and sprinkle the chopped nuts over the top. Allow them to set until the chocolate hardens slightly.
Top the filled tacos with whipped cream and fresh berries if desired. Serve immediately and enjoy!
Extra Tips
- Feel free to customize the nuts based on your preference or add a sprinkle of sea salt for an enhanced flavor contrast!
Nutritional Breakdown (Per Serving)
- Calories: 300 kcal
- Total Fat: 18g
- Saturated Fat: 7g
- Cholesterol: 0mg
- Sodium: 150mg
- Total Carbohydrates: 32g
- Dietary Fiber: 3g
- Sugars: 15g
- Protein: 5g