No-Bake Shamrock Treat Bars
Highlighted under: Delicious Desserts Made Simple
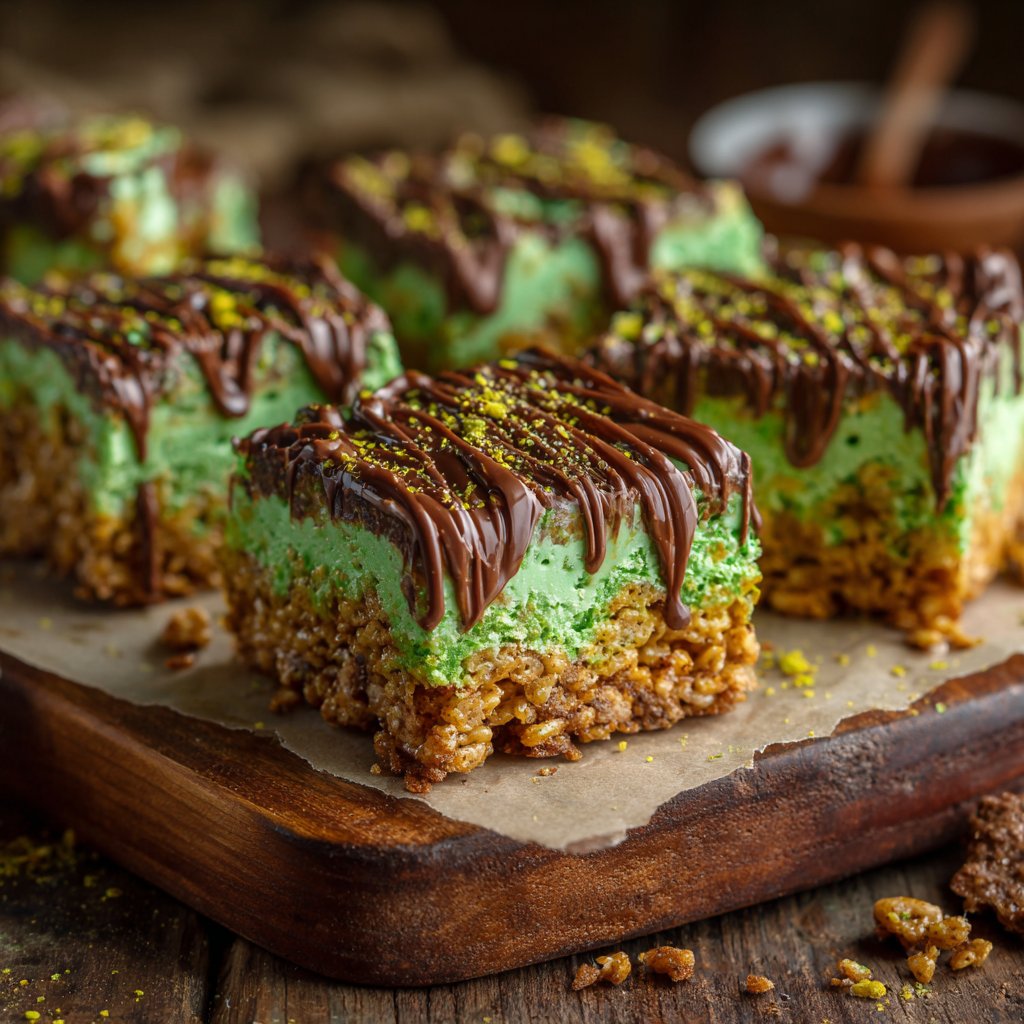
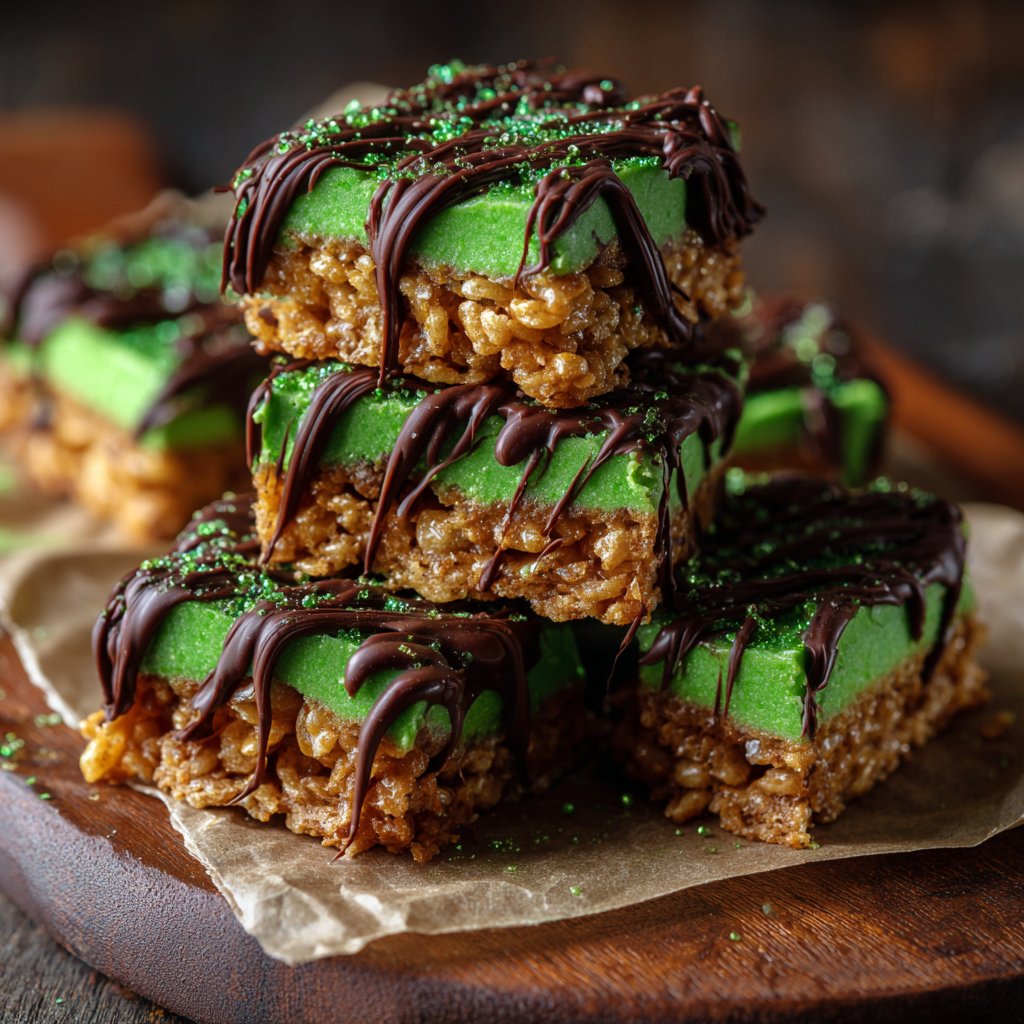
I absolutely love these No-Bake Shamrock Treat Bars! They come together effortlessly and are packed with delightful flavors that remind me of festive celebrations. The creamy, minty layers blend perfectly with crispy rice cereal, making each bite a delicious treat. What’s even better is that they don’t require any baking, so I can whip them up quickly and enjoy them with friends and family. Whether it’s St. Patrick’s Day or just a cozy evening at home, these bars never fail to bring smiles all around.
When I first made these No-Bake Shamrock Treat Bars, I was surprised by how quickly they came together. The combination of smooth marshmallows, creamy peanut butter, and a hint of mint is simply irresistible. I recommend using a peppermint extract for an authentic minty flavor that really shines through in each layer.
One of my favorite tips is to lightly oil your spatula when pressing down the mixture into the pan. This prevents it from sticking and helps achieve that perfectly smooth finish. Once they set, slicing them into bars is a breeze!
Why You'll Love These Treats
- Quick and easy to prepare, perfect for last-minute gatherings
- Refreshing mint flavor combined with a creamy texture
- Ideal for both holidays and everyday snacks
Understanding the Layers
The No-Bake Shamrock Treat Bars consist of distinct layers, each bringing its own unique flavor and texture. The combination of creamy peanut butter and melted mini marshmallows creates a base that is both rich and adhesive, allowing the crispy rice cereal to sit firmly without falling apart. The addition of cocoa powder not only adds depth to the flavor but also balances the sweetness of the marshmallows. If you're a fan of chocolate, consider using dark cocoa for an intensified taste.
Incorporating peppermint extract introduces a refreshing element that complements the creamy texture beautifully. The mint flavor is more than an additive; it elevates the treat, making it feel festive and special, especially around St. Patrick's Day. For those who may not enjoy mint, vanilla extract is a suitable alternative, though it will alter the overall flavor profile. Trying out different extracts could lead to exciting variations that keep this recipe fresh.
Tips for Perfect Bars
When pressing the mixture into the pan, use a lightly greased spatula or your hands (dampened to prevent sticking) to achieve an even, compact layer. This step is crucial to ensure that the bars hold their shape once set. If you find the mixture too sticky, working in small batches or spraying your spatula with a bit of non-stick spray can make this easier. A well-packed base will result in a sturdier treat that won’t crumble when sliced.
The white chocolate topping is not just for aesthetics but also enhances the overall flavor. Melt the chocolate until just melted and pourable, usually around 1-2 minutes in a microwave, checking it every 30 seconds. If the chocolate becomes too thick, add a teaspoon of vegetable oil to smooth it out. This not only helps with the pouring and spreading but results in a glossy finish that adds an inviting touch.
Ingredients
Gather these simple ingredients to make your Shamrock Treat Bars:
Ingredients
- 4 cups crispy rice cereal
- 2 cups mini marshmallows
- 1 cup creamy peanut butter
- 1/2 cup unsweetened cocoa powder
- 1 teaspoon peppermint extract
- Green food coloring (optional)
- 1/2 cup white chocolate chips (for topping)
Make sure everything is ready before you start mixing!
Instructions
Follow these simple steps to create your No-Bake Shamrock Treat Bars:
Prepare the Pan
Line a 9x9 inch baking pan with parchment paper, leaving a bit of overhang for easy removal. Set aside.
Melt the Mixture
In a large saucepan over low heat, combine mini marshmallows and peanut butter, stirring until melted and smooth. Add cocoa powder and peppermint extract, mixing well until fully incorporated.
Add Rice Cereal
Remove from heat and stir in the crispy rice cereal until coated evenly. If desired, mix in a few drops of green food coloring for a festive touch.
Press into the Pan
Using a greased spatula, press the mixture firmly into the prepared pan. Smooth the top with the spatula.
Melt the Chocolate
In a microwave-safe bowl, melt the white chocolate chips in 30-second intervals, stirring in between until smooth.
Finish the Bars
Pour the melted white chocolate over the pressed treats and spread evenly. Allow to set in the refrigerator for about 30 minutes, then cut into bars.
Enjoy these delightful bars at your next celebration!
Pro Tips
- For an extra crunch, you can sprinkle some crushed nuts over the top before the chocolate sets.
Storage and Make-Ahead Tips
These No-Bake Shamrock Treat Bars can be prepared a few days in advance, making them an ideal choice for busy occasions. Once cut into bars, store them in an airtight container at room temperature for 3-5 days. If you prefer a firmer texture, consider refrigerating them, which can extend their freshness for up to a week. Just remember to layer parchment paper between the bars to prevent sticking together.
For longer storage, these treats can be frozen. Wrap each bar in plastic wrap and place them in a freezer-safe container. They can last up to two months in the freezer. To enjoy, allow them to thaw at room temperature for about 15-20 minutes before serving, so they regain their softness.
Variations and Additions
Feel free to personalize your No-Bake Shamrock Treat Bars by adding mix-ins like crushed peppermint candies, chopped nuts, or even mini chocolate chips to the base mixture before pressing it into the pan. This not only provides an extra crunch but also a burst of enhanced flavors that can elevate your treats. For a more festive touch, you can even sprinkle some green sprinkles on top of the melted white chocolate before it sets.
If you want to make these bars even more decadent, consider drizzling additional melted chocolate over the top after the white chocolate has set. Alternatively, layering different colors or types of chocolate can create a visually stunning effect that is perfect for celebrations. Chocolate and mint are an iconic combination that many enjoy, but experimenting with other flavors can yield exciting results.
Questions About Recipes
→ Can I use a different cereal?
Yes, you can substitute with a different puffed rice or even a similar cereal, as long as it’s crispy.
→ Do I need to refrigerate them?
It's best to refrigerate them to firm up, but they can be stored at room temperature in an airtight container for a few days.
→ Can I make these gluten-free?
Absolutely! Just ensure that the cereal and all the ingredients you use are certified gluten-free.
→ How long do these bars last?
They can last up to a week when stored properly, but you might eat them all before then!
No-Bake Shamrock Treat Bars
Created by: The Seasonedscoop Team
Recipe Type: Delicious Desserts Made Simple
Skill Level: Easy
Final Quantity: 12 bars
What You'll Need
Ingredients
- 4 cups crispy rice cereal
- 2 cups mini marshmallows
- 1 cup creamy peanut butter
- 1/2 cup unsweetened cocoa powder
- 1 teaspoon peppermint extract
- Green food coloring (optional)
- 1/2 cup white chocolate chips (for topping)
How-To Steps
Line a 9x9 inch baking pan with parchment paper, leaving a bit of overhang for easy removal. Set aside.
In a large saucepan over low heat, combine mini marshmallows and peanut butter, stirring until melted and smooth. Add cocoa powder and peppermint extract, mixing well until fully incorporated.
Remove from heat and stir in the crispy rice cereal until coated evenly. If desired, mix in a few drops of green food coloring for a festive touch.
Using a greased spatula, press the mixture firmly into the prepared pan. Smooth the top with the spatula.
In a microwave-safe bowl, melt the white chocolate chips in 30-second intervals, stirring in between until smooth.
Pour the melted white chocolate over the pressed treats and spread evenly. Allow to set in the refrigerator for about 30 minutes, then cut into bars.
Extra Tips
- For an extra crunch, you can sprinkle some crushed nuts over the top before the chocolate sets.
Nutritional Breakdown (Per Serving)
- Calories: 200 kcal
- Total Fat: 10g
- Saturated Fat: 2g
- Cholesterol: 0mg
- Sodium: 60mg
- Total Carbohydrates: 26g
- Dietary Fiber: 1g
- Sugars: 12g
- Protein: 3g